How to Make a Chanhua Rose Ornament - Handcraft Chanhua Tutorial
Share
Roses are the main component of this Chanhua craft. This section will detail the process of making three different types of roses.
A. Materials and Tools
- - White cardstock
- - Carbon pen
- - Scissors
- - No. 30 floral wire
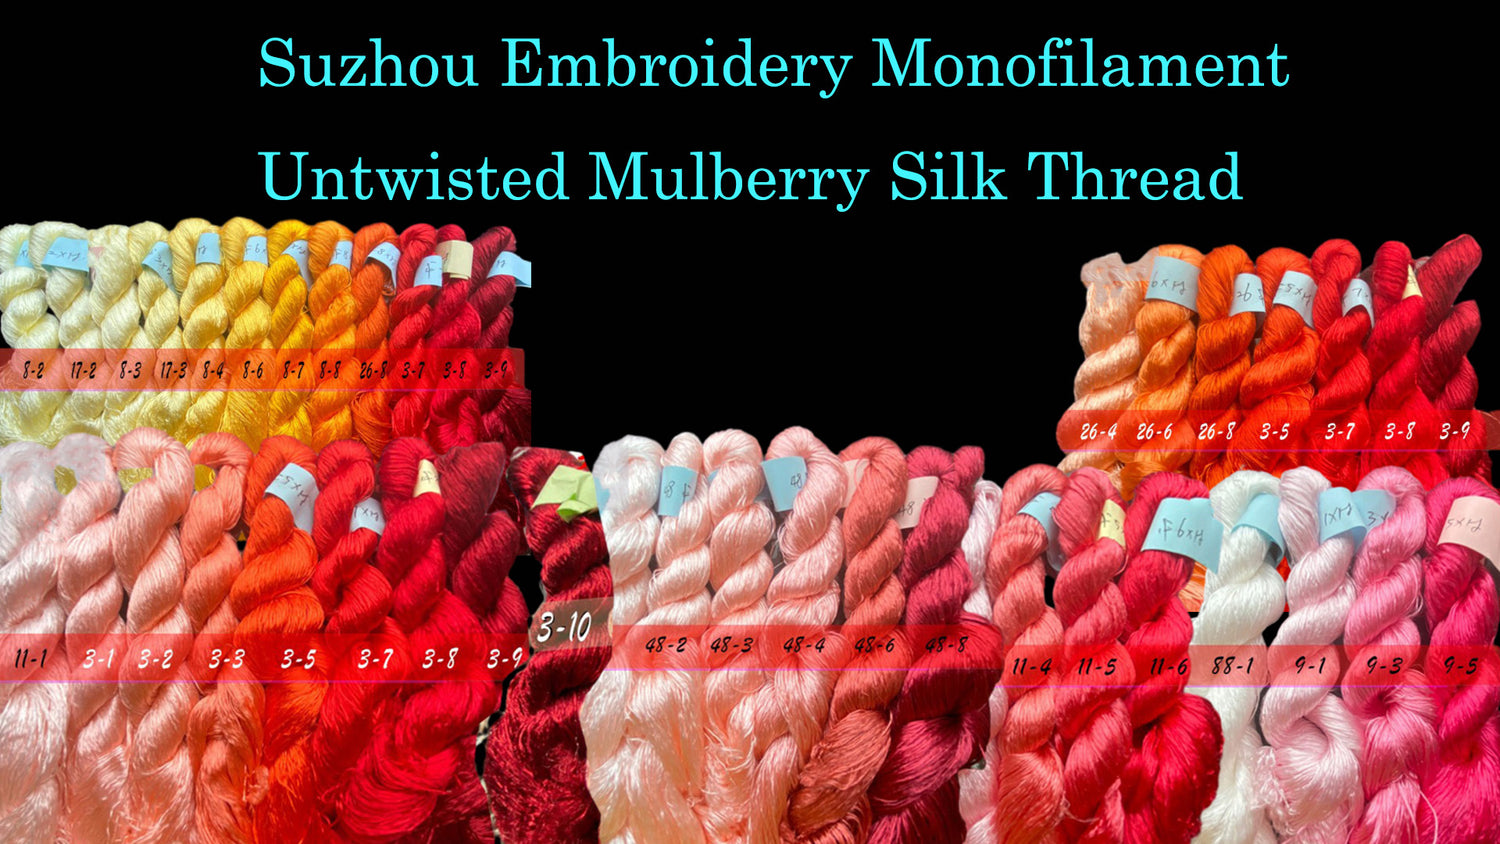
- - Pomegranate red and willow yellow silk threads
- - White glue
- - Brush
- - Edge sealant
- - Chopsticks
- - Decorative pearls
- - Pliers
B. Making the Petals
 1 2
1 2
1. Draw petal shapes on the white cardstock using the carbon pen and cut them out with scissors. To create a hollow effect, cut out the middle of the petals.
2. Take a wire and leave 3-5 cm at one end. Start with the pomegranate red silk thread and attach the cardstock.
 3
3
3. Wrap the silk thread around the cardstock, ensuring it is tight and does not overlap on the upper edge, while the lower side can overlap slightly, making the silk thread radiate outward from the cardstock.
 4
4
4. After wrapping halfway, gently bend the cardstock to create a curve, making it easier to wrap the remaining part.
 5
5
5. Once wrapping is complete, tie a knot at the end and apply white glue to secure it. Brush edge sealant on the back of the petals until it is completely dry to get the first type of petal shape.
 6
6
6. Take another piece of cardstock of the same shape, gently press folds into the petals with your fingers, and wrap it with silk thread as in steps 2-5, ensuring the thread follows the folds without pulling too tight.
 Tip: Place a cylindrical object like chopsticks or a pen under the cardstock, and gently press down on both ends to naturally curl the edges of the petals. Wrap the curled cardstock carefully, maintaining even pressure. After wrapping, adjust the petal shape with your fingers to achieve the second type of curled petal shape.
 7
7
7. Following the tip, take a new petal cardstock and curl the edges in opposite directions. Wrap it using the same method as before, using your middle finger to support the curled edge. Secure with a knot and white glue.
 8
8
8. After wrapping, you will have the third type of rose petal. Apply edge sealant to the back and let it dry before assembling into flowers.
C. Making the Calyx
 1 2
1 2
1. Draw long, narrow leaves on white cardstock and cut them out with scissors. Split them in half to prepare 6 sets, 12 pieces in total. Take a wire, leave 4-5 cm at one end, start with willow yellow silk thread, and add one piece of cardstock to complete the wrapping, then add another piece 1 cm apart.
2. After wrapping the second piece of cardstock, bend the wire to close the ends together, secure with a knot, and continue wrapping the next set of cardstock.
 3
3
3. After wrapping all 6 sets, use pliers to pinch the wire at the tip of the cardstock, ensuring the cardstock pieces are tightly adhered without gaps. Bend the calyx pieces upward slightly, using chopsticks to curl the tips outward.
 4
4
4. Follow steps 1 and 2 to make an 8-piece calyx. Ensure each piece is spaced about 0.5 cm apart when adding a new set.
 5
5
5. Pinch the wire tip at the cardstock's end with pliers, bend the calyx slightly upward, and curl the tips outward with chopsticks. Close the calyx ends and secure with silk thread.
Tip: Different sized calyxes fit different rose sizes. Adjust the calyx shape according to the size and shape of the flowers.
D. Combining Three Types of Roses - Budding Rose
 1
1
1. Take three first-type rose petals and place a chopstick in the center of each petal, gently curling the petals around it.
 2
2
2. Close the ends of the petal wires and secure with silk thread. Curl the petals into a 3D hollow effect using chopsticks.
 3
3
3. Repeat for three first-type petals and combine them into a budding rose.
 4
4
4. Hold the rose petals with your right hand and twist the wires tightly with your left hand. Add the prepared calyx and wrap the wires with silk thread to complete the budding rose combination.
E. Combining Three Types of Roses - Small Rose
 1
1
1. Take three second-type rose petals and increase the curl of each petal using chopsticks, making them appear to bloom from inside out.
 2
2
2. Close the ends of the petal wires and secure with silk thread. Attach a decorative pearl to the wire and wrap the second-type petals around it.
 3
3
3. Take three third-type rose petals, curl them using chopsticks, close the ends, and secure with silk thread.
 4
4
4. Wrap the third-type petals around the second-type petal flower, twist all wires together, add a calyx, and adjust the flower shape to complete the small rose combination.
F. Combining Three Types of Roses - Large Rose
 1
1
1. Following the small rose method, complete a small rose combination. Take five larger rose petals, curl them more as in step 3 of the small rose, and wrap them around the small rose.
 2 3
2 3
2. Twist all wires below the rose petals tightly, add a larger calyx, and wrap the wires with silk thread to complete the large rose combination.
3. Make different types of roses as described: four budding roses, one small rose, and two large roses.
6.5.2 Making the Leaves and Butterflies
Leaves and butterflies serve as embellishments in this Chanhua craft. This section explains how to make them.
A. Materials and Tools
- - White cardstock
- - Carbon pen
- - Scissors
- - No. 30 floral wire
- - Rice beads
- - Decorative pearls
- - Light yellow and gold silk threads
- - White glue
B. Making the Leaves - Leaf Type 1
 1
1
1. Draw leaf patterns on white cardstock with the carbon pen. The leaves should be asymmetrical, large overall, with both sides curving but the inner side less so. Cut out the shapes, arranging the leaves by their tip directions.
Tip: Leaves are divided into two sets, each set wrapped in the sequence of "1-2-3-4" as shown in the left diagram.
 2
2
2. Since the leaves are large and need sufficient support, combine two wires, leave some wire at one end, and start with light yellow silk thread. Add a cardstock piece from position 1 and wrap to position 2.
 3
3
3. Leave a 0.5 cm gap after wrapping, add another cardstock piece from position 3, and wrap to position 4, bending the wire and securing with a knot.
 4
4
4. Place the leaf on the carbon pen and gently bend along the pen to ensure the cardstock pieces are tightly adhered without gaps.
C. Making the Leaves - Leaf Type 2
 1
1
1. Take two wires, start with light yellow silk thread, add cardstock, and wrap, securing with a knot and white glue at the end. Start again with gold silk thread.
 2
2
2. Add another cardstock piece 0.5 cm from the previous one, wrap tightly with gold silk thread, bend the wire, and secure with a knot.
 3
3
3. Bend the leaf slightly along the carbon pen, aligning the middle seam to get type 2 leaf.
D. Making the Leaves - Leaf Type 3
 1
1
1. Prepare leaf cardstock and cut out several arcs along the outer edge with scissors.
 2
2
2. Take two wires, start with gold silk thread, and add the trimmed cardstock, completing type 3 leaf following steps 3-4 of type 2.
E. Making the Butterflies
 1
1
1. Use light yellow silk thread to wrap a symmetrical leaf shape. Bend it to create a curve, close the wire ends, and thread rice beads onto the wire, bending it to place the beads on the leaf surface, completing the upper wing.
 2 3
2 3
2. Wrap the lower wing with light yellow silk thread and rose petal pattern. Bend the wire, thread rice beads, and encircle the cardstock base.
3. Make two pairs of upper and lower wings and attach spring-shaped antennae with decorative pearls.
6.5.3 Overall Assembly
After making all the parts, assemble the entire piece and adjust the shapes. This section explains how to assemble the components.
A. Materials and Tools
Silk threads matching the color of each component
B. Assembly
 1
1
1. Prepare four budding roses, two large roses, one small rose, one butterfly, and sixteen leaves. Arrange and organize the components into a rough shape.
 2
2
2. Assemble the budding roses with leaves, ensuring the leaves are staggered. Use the same method to assemble another rose and leaves, then add the butterfly and small rose.
 3
3
3. Take two large roses, assemble one with a budding rose and leaves, and attach the assembled rose-leaf pairs to the left and right sides of the large rose.
 4
4
4. Assemble the second large rose with leaves, then attach it below the first large rose.
 Final Product Display


