How to Make Crab - Handcraft Ronghua Tutorial
Share
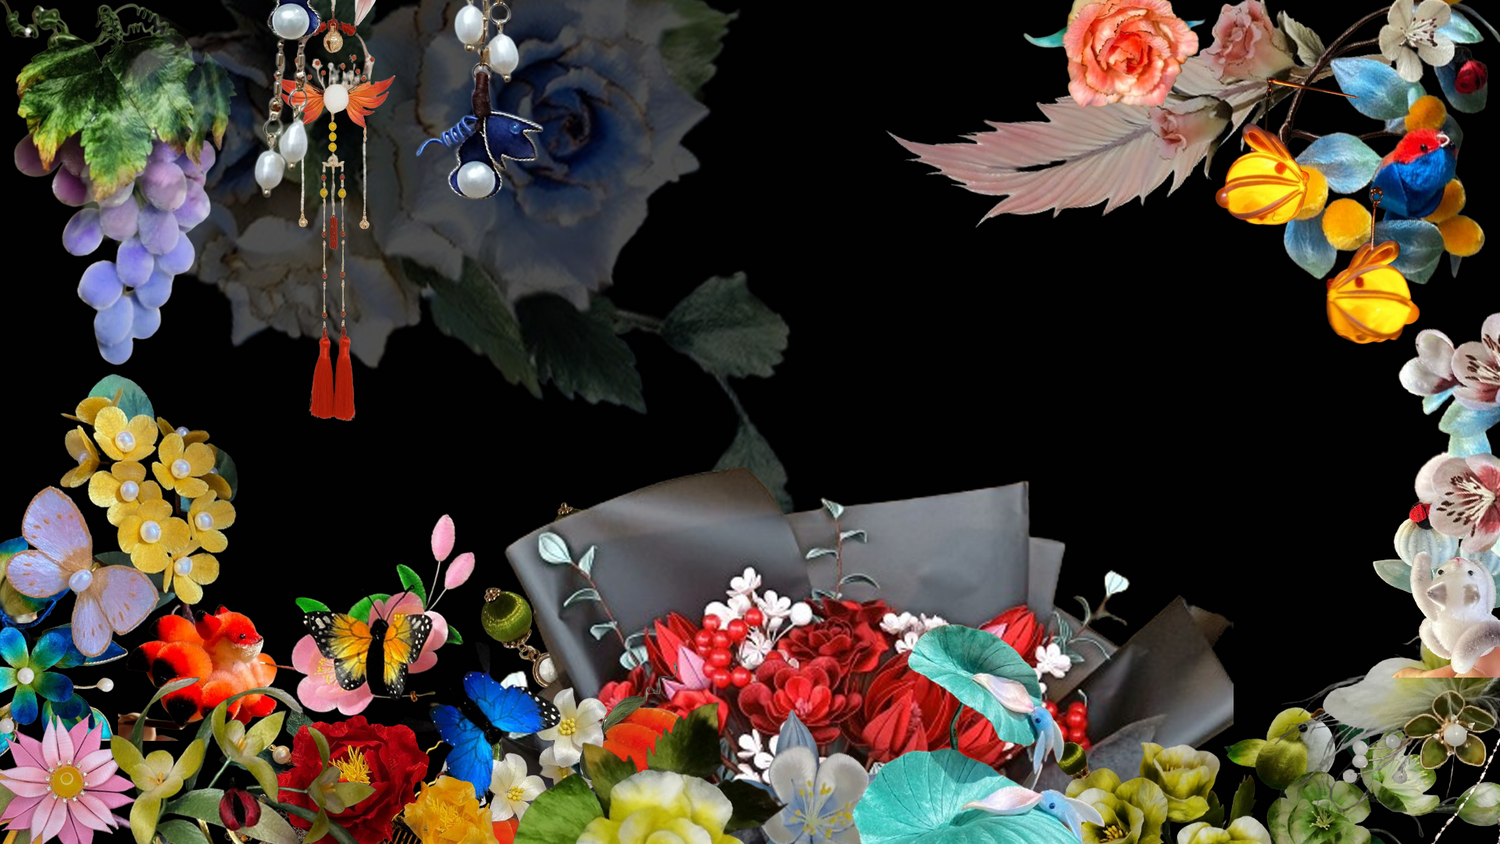
In traditional Chinese culture, the crab is also a common motif often used as a symbol of good fortune. This case uses the "crab" as the creative element for a Ronghua hairpin design.
 Color Scheme Display
A. Making the Crab Shell
 1
1
1. Prepare the necessary velvet strips. The crab's overall shape is somewhat round. When making the velvet strips for the crab shell, trim one end to be fine and pointed and the other end to be thick and pointed. This way, when the velvet strips are bound together, the rear edge of the crab will have a slightly inward-curved effect.
B. Making the Crab Legs and Claws
 2
2
2. The crab's body is symmetrical, so it needs to be made in two parts, left and right, and then assembled. The picture above shows the parts needed to make the crab's legs, claws, and eyes. This includes four thin velvet strips trimmed into the shape of crab legs, two thick velvet strips for making the claws, and bead components for the eyes. Note that eyes can be made using appropriately sized beads.
 2
2
3. Use tweezers to shape the velvet strips into claws, then use B-7000 glue to stick the two parts of the claws together and trim off the excess brass wire. Note that the claw shape is quite unique, requiring a combination method to make as one velvet strip alone is insufficient.
 4
4
4. Assemble the crab's legs, claws, and eyes. During assembly, ensure to first match the positions on the crab shell to avoid having to redo it due to incorrect placement.
 5
5
5. Fix the components of the crab's legs, claws, and eyes on one side, then use tweezers to adjust the shape of the crab legs (this can also be done at the end). Next, make and assemble the legs, claws, and eyes on the other side, then compare and adjust the positions against the crab shell.
 6
6
6. Secure the crab shell and again compare all components against it to ensure a proper fit. Bind all the brass wires together and fold them behind the crab shell for overall fixation. Finally, add the main accessory to complete the creation.
 7
7
7. Display the finished product.


