How to Make a Chanhua Bird and Flower Tuan Fan - Handcraft Chanhua Tutorial
Share
This section provides detailed instructions on the key steps for making the bird part, introducing specific operations such as paper cutting, wrapping, coloring, and assembling in the Chanhua bird making process.
A. Materials and Tools
- - White cardboard
- - Carbon pen
- - Scissors
- - No. 30 wire for silk flowers
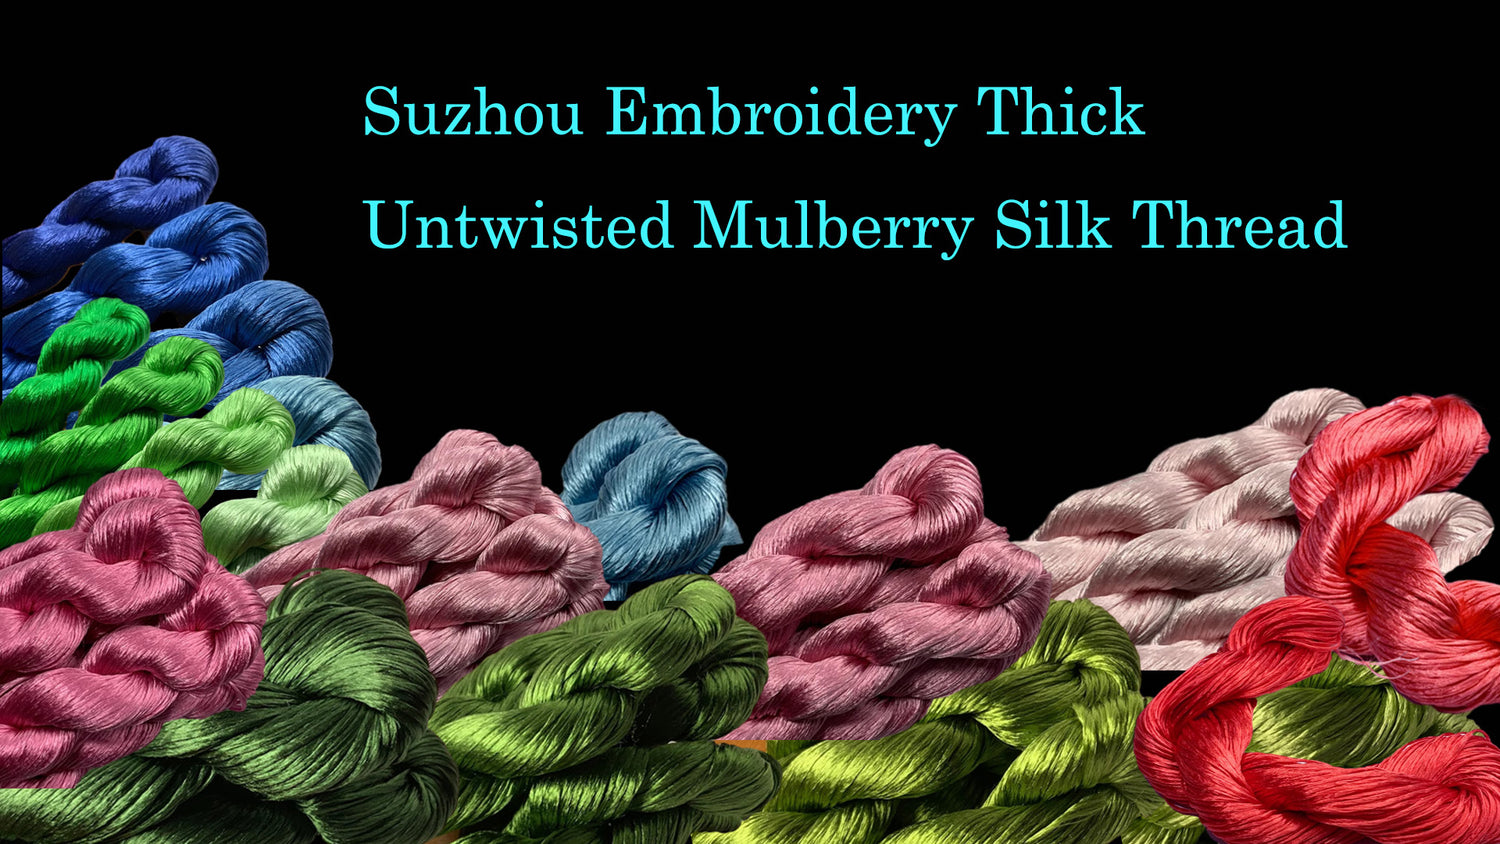
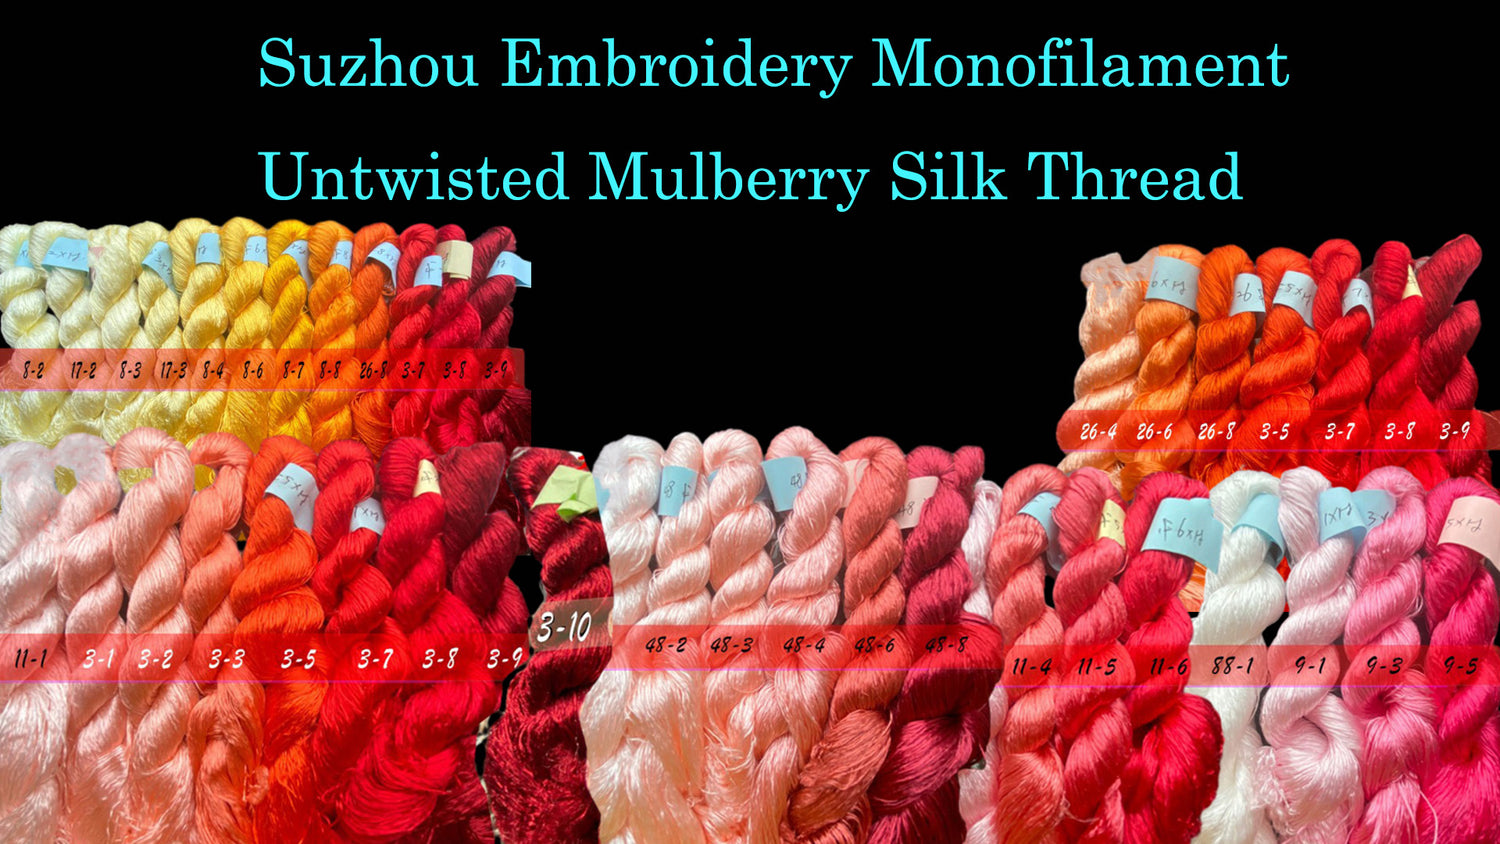
- - Pink, yellow, and green silk threads
- - Brush
- - Pliers
- - White glue
- - Clean water
- - Black watercolor paint
- - Decorative beads
- - Alcohol glue
B. Making the Components
 1
1
1. Draw the basic shape of the bird on white cardboard with a carbon pen and cut out the cardboard parts with scissors. Arrange the parts neatly and set aside the templates for "head 1," "upper wing," "lower wing," and "tail."
 2
2
2. Take a piece of wire and wrap the pink silk thread around one end of the wire.
 3
3
3. Attach the head 1 template to the wire and start wrapping the pink silk thread tightly around the right side of head 1, leaving 1-2 mm of wire bent to the back of the cardboard, and use pliers to clamp the bend. Repeat this process for the beginning of the tail.
 4
4
4. After wrapping head 1, apply white glue to secure the end. Use the same method to make the tail.
 5
5
5. Start wrapping the wire and add the upper wing template. Because the cardboard is irregular, you can flip the cardboard while wrapping and use your left thumb and forefinger to hold it tightly. Use your left middle finger to assist in pressing the edge of the cardboard to prevent the silk thread from slipping.
 6
6
6. After wrapping the bird's wings, tie a knot at the end and secure it with white glue.
C. Coloring
 1 2
1 2
1. Use a brush dipped in clean water to wet the parts wrapped in white silk thread. Make sure to wet both the front and back sides of the silk thread.
2. Dilute the black watercolor paint with water. Dip the brush in water, then in a small amount of paint, and apply a thin layer of paint to the surface of the wrapped thread.
 3 4
3 4
3. Apply more paint with the brush, blending the colors appropriately. The color should be darker at the top and lighter at the bottom, creating a gradient effect.
4. Color each part that needs to be painted, adjusting the gradient effect according to the shape and form of each part.
D. Making and Assembling the Bird's Head
 1
1
1. Take two wires and start wrapping them with yellow silk thread. Add the head 2 and head 3 templates and wrap them as described in "Making Colored Parts."
 2
2
2. Stack the three wrapped head parts together, with parts from head 1 and head 3 on top of head 2.
 3 4
3 4
3. Hold the wires with your left hand, then take another wire with a pre-threaded decorative bead and add it to the middle of the bird's head, using the bead as the bird's eye. Tie a knot at the end with yellow silk thread to secure the wire. The bird's head is now complete.
4. Combine the four colored parts of the bird's tail to complete the bird's tail.
E. Making and Assembling the Bird's Body
 1
1
1. Observe the shape of each piece of pre-cut cardboard for the bird's body. Arrange them in order from top to bottom (1-4), and divide them into two groups: the inner and outer sides. For the outer side, wrap the parts in order from top to bottom (A, B, C, D). For the inner side, wrap the parts from bottom to top (a, b, c, d).
 2
2
2. Take a wire and start wrapping it with yellow silk thread. Attach the cardboard parts of the bird's inner body in the order from a to b, wrapping each piece and then adding the next one, following the order from c to d.
 3
3
3. Mark a spot at one-third of the cardboard. Wrap the silk thread up to the marked spot, using your middle finger to prevent slipping. Take the lower wing part of the bird and place it at the marked spot, securing it with silk thread.
 4
4
4. Bend the wire to close the inner side of the bird's body and tie a knot to secure it. Use pliers to bend the lower wing downward.
 5
5
5. Follow steps 2-4 to complete wrapping the outer side of the bird's body. When wrapping part 1, add the upper wing at one-fourth of the way. Continue wrapping the silk thread around the wire for about 1.5 cm. Bend the wire.
 6
6
6. Place the outer part of the bird's body under the inner part. Use the silk thread to pass through the inner part and tie a knot to secure it at both ends.
 7 8
7 8
7. Apply alcohol glue to the bird's wings to attach them to the body to prevent them from falling off.
8. Wrap the wires of the bird's head and tail with silk thread, joining the different parts. Leave extra wire for the head and bend it to form the bird's beak.
 9
9
9. Wrap green silk thread around the wire and use pliers to create two arches in the wire. Clamp the wire tightly to form a "Y" shape. Apply white glue to the silk thread to prevent slipping and press the two branches of the "Y" shaped wire against a cylinder to create a curve. Use pliers to adjust the shape, forming the bird's feet.
 10
10
10. Attach the feet to the bird's body to complete the bird.
6.2.2 Main Flower Making
The main flower is one of the key components in this Chanhua. It consists of 5 petals and a stamen made of brass wire. This section will explain the detailed steps for making the main flower.
A. Materials and Tools
- - White cardboard
- - Carbon pen
- - Scissors
- - No. 30 wire for silk flowers
- - Pink and green silk threads
- - Clean water
- - Brush
- - Red and yellow paints
- - 0.3mm diameter brass wire
- - Red decorative rice beads
- - Pliers
- - Chopsticks
B. Making Main Flower Style 1
 1 2
1 2
1. Draw teardrop-shaped petals on cardboard with a carbon pen and cut out 4 pieces, ensuring they are symmetrical. The pointed end is the inner side of the petal, and the other end is the outer side. Follow the indicated order during the wrapping process.
2. Take a piece of wire and start wrapping it with pink silk thread. Add one inner side petal cardboard piece and wrap it tightly in the direction indicated in the previous step. After wrapping, take another cardboard piece and continue wrapping.
 3
3
3. After wrapping the inner side of the petal, bend the wire to close it and secure it with a knot at the end using silk thread. Bend the remaining wire at a 90° angle, and place another inner side petal cardboard piece on the wire, wrapping it with silk thread.
 4
44. After wrapping the third cardboard piece, tie a knot at the end and bend the wire to close it with the middle two cardboard pieces. Use silk thread to pass through the gap between the adjacent cardboard pieces and secure it with a knot. Add the last cardboard piece.
 5
5
5. After wrapping the last cardboard piece, bend the wire to gather all the cardboard pieces together, forming a complete petal, and secure it with a knot using silk thread.
 6
6
6. Wet the petal surface with a brush dipped in clean water. Dilute yellow paint with a small amount of red paint and water. Dip the brush in the yellow paint and apply it to the rounded outer side of the petal in multiple thin layers. The color should be darker towards the tip of the petal and apply red paint at the tip.
C. Making Main Flower Style 2
 1 2
1 2
1. Use two outer side templates from "Main Flower Style 1" as the petal templates for "Main Flower Style 2."
2. Take a piece of wire, leaving enough length at one end. Add a cardboard piece and start wrapping it with silk thread. Wrap from one end of the cardboard to the other end. Add the second cardboard piece, wrapping it from the end of the first piece.
 3
3
3. Bend the wire to close the petal and wrap extra silk thread at the end of the petal wire, securing it with a knot. Color the petal as described in "Main Flower Style 1."
D. Making the Main Flower Stamen
 1
1
1. Take a 60mm long, 0.3mm diameter brass wire and bend it 6cm from one end. String a red decorative rice bead onto it and twist the wire into a 1.5cm long stamen.
 2 3
2 3
2. Add another red decorative rice bead from the longer end of the wire and bend the wire at a similar length as the first stamen, twisting the wire to form a second 1.5cm long stamen.
3. Twist the remaining wire in the same manner.
 4 5
4 5
4. Wrap the wire with green silk thread from bottom to top and back down.
5. Wrap the silk thread around all the stamens in the same manner, securing it with a knot at the end. This completes the stamen. Make another stamen using the same method.
E. Assembling the Main Flower
 1
1
1. Wrap 5 petals of "Main Flower Style 1" and color them. Take two petals and wrap their wires together with silk thread, securing them with a knot.
 2
2
2. Combine the pre-made stamen with the bottom wires and place it in the center of the two petals, securing it tightly with silk thread.
 3
3
3. Add the remaining petals, overlapping some to create a varied height effect, and secure them with silk thread.
 4
4
4. Complete the "Main Flower Style 1" assembly, adjusting the petal shapes. Thread the silk thread through the middle of the stamen to strengthen the connection between the stamen and petals, and use pliers to adjust the stamen's curve for a more lively appearance.
 5
5
5. Wrap 5 petals of "Main Flower Style 2," take a pre-made stamen, and combine "Main Flower Style 2" petals with the stamen, securing them with silk thread.
 6
6
6. Add the remaining petals and use pliers to adjust the stamen's curve. Use chopsticks to slightly bend the petals upwards, making the flower appear more realistic and three-dimensional.
6.2.3 Making Accessory Flowers and Leaves
In the previous two sections, we introduced the making of the main components. This section will explain the techniques for making accessory flowers and leaves.
A. Materials and Tools
- White cardboard
- Carbon pen
- Scissors
- No. 30 wire for silk flowers
- Light pink, light green, and emerald green silk threads
- Handmade stamens
- Decorative pearls
B. Making Accessory Flowers
 1
1
1. Draw slender leaf patterns on white cardboard with a carbon pen, cut them out, and then cut them in half. Take a piece of wire and start wrapping it with light pink silk thread in the middle, adding the cardboard and wrapping it to form the petals of the accessory flower.
 2
2
2. Fold the wrapped cardboard in half, tightly aligning the end with the wire, leaving some space at the other end. Be careful not to tear the cardboard or let the silk thread slip off. Secure the end with a knot using silk thread to complete one accessory flower petal.
 3 4
3 4
3. Add a piece of cardboard to the wire at the end of the completed petal and make the second accessory flower petal using the same method. A total of 8 petals are needed.
4. Open the petals outward from the gap in the middle and gently press them to extend the cardboard to both sides. Adjust the shape of the 8 petals using the same method.
 5
5
5. Gather the wire ends of the accessory flower and secure them together with silk thread. Adjust the shape of each petal by hand.
 6 7
6 7
6. Add a handmade stamen to the middle of the accessory flower and secure it with silk thread. Refer to section 2.1.2 for the method of making handmade stamens from cardboard strips.
7. Make 4 accessory flowers using the same method: one larger, one medium-sized, and two smaller.
C. Making Leaves
 1 2
1 2
1. Draw the petal patterns of the main flower on cardboard and cut them out. Divide the cardboard into two groups: one for the outer sides of the petals and one for the inner sides.
2. Prepare two wires and wrap each group of cardboard pieces with light green and emerald green silk threads, respectively. Bend the wire in the middle to make both sides symmetrical.
 3
3
3. Gather the two pieces of cardboard on the wire, ensuring there are no gaps in the middle. This will create two different leaf shapes (Type 1 and Type 2). Adjust the curvature of the leaves by hand.
 4
4
4. Make 6 Type 1 leaves and 11 Type 2 leaves using the same method. You can add decorative pearls to the leaves to make them more beautiful.
 5
5
5. Combine the leaves to make 5 leaf stems, including 3 stems with 3 leaves each and 2 stems with 4 leaves each. Ensure that the leaves are arranged at different heights for a more natural appearance.
6.2.4 Overall Assembly
After making all the components, this section will explain how to assemble them together.
A. Materials and Tools
- - Silk threads in colors matching the components
- - Ballpoint pen
- - Dark silk threads
- - Hairpin rod
- - Pliers
- - Alcohol glue
B. Component Assembly
 1
1
1. Prepare two "Style 1" main flowers and one "Style 2" main flower. Wrap the wires of one "Style 1" and one "Style 2" main flower together with silk thread. Add the other "Style 1" main flower lower down to complete the main flower assembly. Adjust the position and orientation of the main flowers by hand.
 2 3
2 3
2. Add the wrapped bird to one side of the main flowers, bending the wire slightly to leave enough space between the bird and the main flowers. Add an accessory flower in the gap between the bird and the main flowers (ensuring the gap is larger below the accessory flower).
3. Add 3 accessory flowers between the main flowers, in the gap on the side of the bird and the main flowers, and below the right side of the main flowers.
 4
4
4. Add two prepared leaf stems above the main flowers, adjusting their direction and position, with the decorative pearl side facing up.
 5
5
5. Add 3 leaf stems below the main flowers, ensuring proper positioning and shape.
 6
6
6. Secure the wires of all components tightly with silk thread, leaving one wire bent for later use.
 7
7
7. Select one wire from the components, start wrapping the end with silk thread, bend the end after wrapping a section, and secure it with a knot using silk thread.
 8
8
8. Wrap the wire around a ballpoint pen to shape it into a vine. Repeat the same steps to make two vines.
 9 10
9 10
9. Wrap the remaining wires with dark silk thread to form the flower stem. Thread some wires through the hole in the hairpin rod to fix the flower stem on the rod. Wrap the hairpin rod with dark silk thread together with the wire.
10. Repeat the previous step, threading the wires through the hole in the hairpin rod, and wrap them with silk thread to secure the flower stem to the rod.
 11
11
11. Bend the remaining wires upwards, use pliers to tighten the wires and flower stem, wrap the wires with silk thread, and apply alcohol glue to fix them.
 12
12
12. Bend the wires connecting the flower stem and the hairpin rod to lift the entire Chanhua upwards.
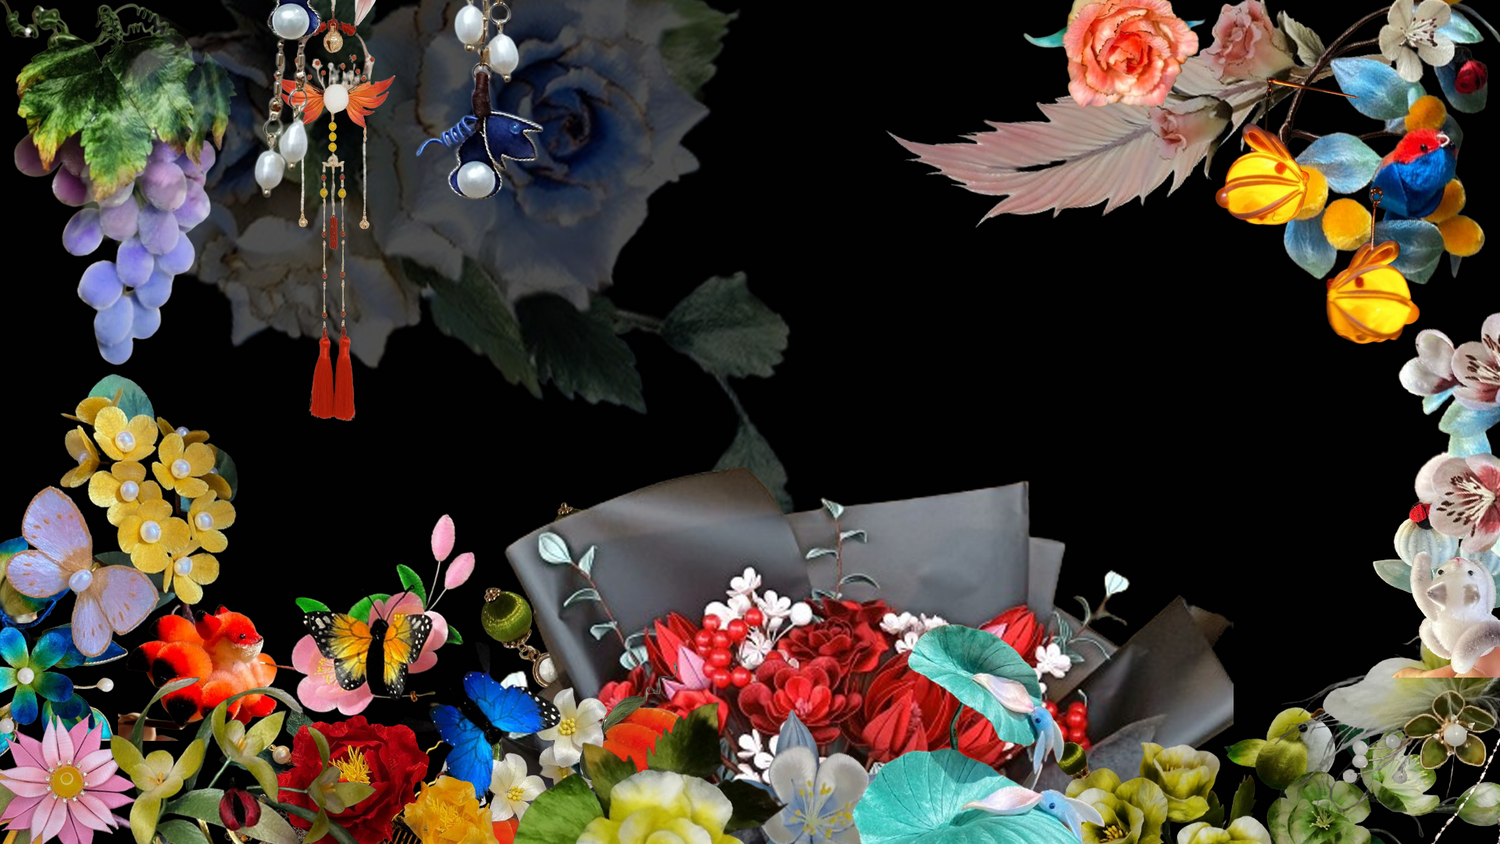
 Finished Product Display


