Methods for Making Fruits of Different Shapes - Handcraft Ronghua Tutorial
Share
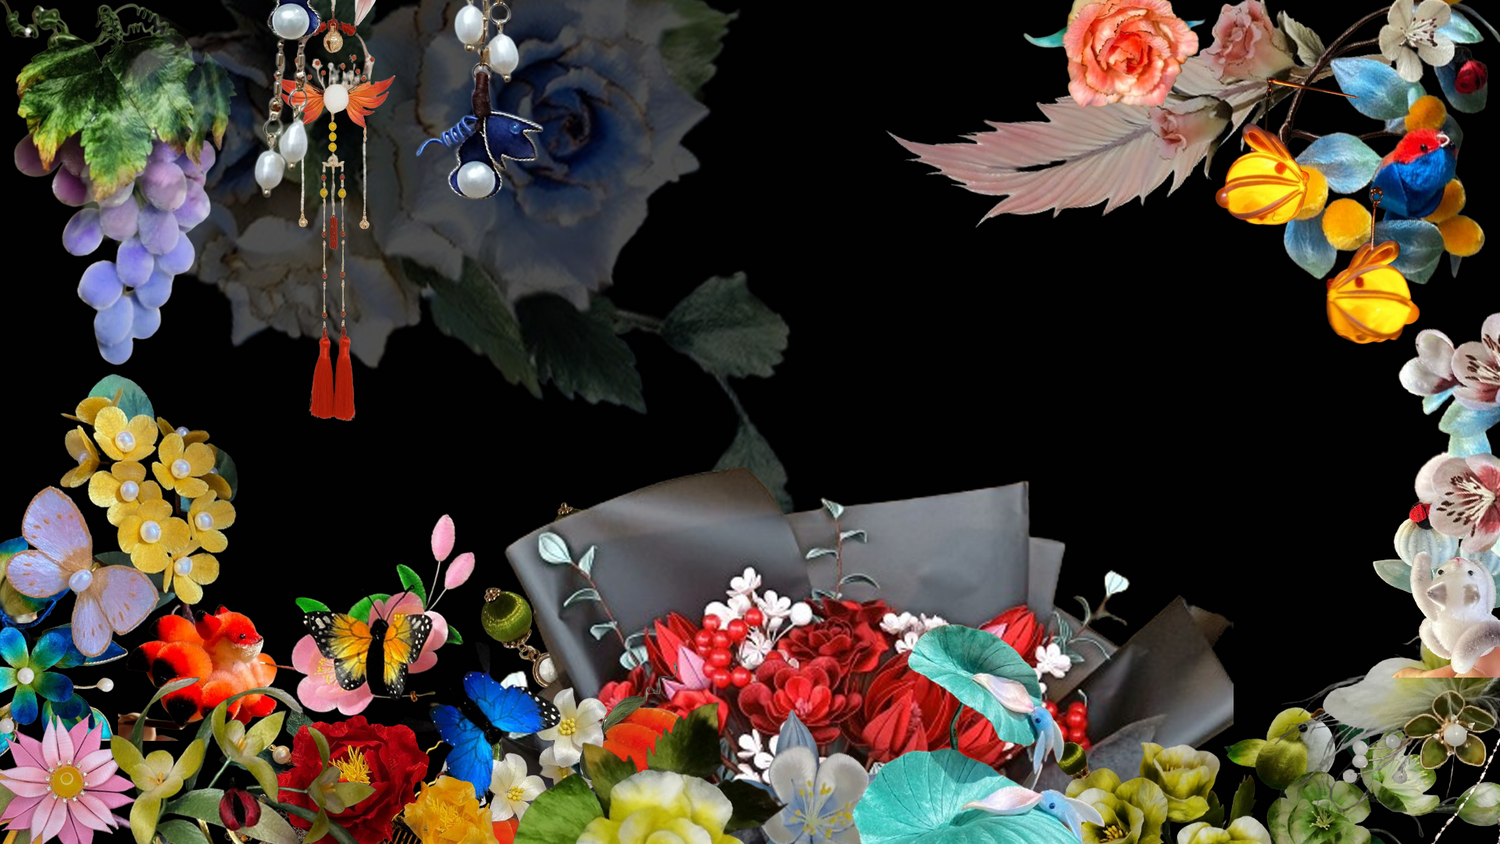
In addition to highly decorative flowers, leaves, and birds, Ronghua can also be made into various shapes of fruits.
A. Based on a Spherical Shape
Below, we use "orange" as an example to explain the method of making plush Ronghua.
 1
1
1. Prepare 12 velvet strips. Since we are making a sphere, the trimming angles of both ends of the strips should be the same. You can adjust the thickness, length, and number of velvet strips according to the actual needs of your work.
 2 3
2 3
2. Take 4 velvet strips and secure them with silk thread, establishing four directions. This will help keep the other strips from getting tangled as you add them.
3. Continue adding and securing velvet strips based on the initial 4 fixed strips.
 4
4
4. After tying all the velvet strips with silk thread, continue wrapping the brass wire downwards until it reaches the desired length. Note that the length of the silk thread wrapped around the brass wire should be determined based on your needs.
 5
5
5. Select an appropriate distance, bend the velvet strips downwards, and fix them to the branch. First, secure 4 points, then fix the other velvet strips one by one. Remember to keep the fixed positions of the velvet strips on the same horizontal line.
 6
6
6. Use tweezers to adjust the shape of the velvet strips. The piece is now complete.
Tips: When making a sphere, the distance at which the velvet strips are bent and fixed should be determined according to the desired effect of the work. For example:
- 1. When the bending distance is farther, the result is an ellipsoid.
- 2. When the bending distance is closer, the result is a flattened sphere.
- 3. If the bending distance is moderate, the result is a perfect sphere.
B. Based on a Conical Shape
This section demonstrates the method of making a strawberry, which can also be applied to making a peach.
 1
1
1. Prepare 8 velvet strips. Since the strawberry has a large base and a small tip, the trimming of the strips should gradually transition from thick and round at one end to thin and pointed at the other end. Then, prepare 6 small velvet pieces for the sepals.
 2
2
2. Fix the thick, round end of the 8 velvet strips with silk thread, then use pliers to cut off the excess brass wire at the unfixed end.
 3
3
3. Use tweezers to adjust the velvet strips into the shape of a strawberry.
 4
4
4. Slightly separate the velvet strips with tweezers, then use an appropriate amount of white glue to secure the strips together. Continue adjusting the curvature of the velvet strips with tweezers (the bottom of the strawberry should have a larger curve, and the top should have a smaller curve) to form the basic shape of the strawberry.
 5
5
5. If making a peach, the process is complete at this step. However, since we are making a strawberry, we need to add sepals at the bottom.
 6
6
6. Prepare gold ink or metal beads, which can be used to create different effects for strawberry seeds. Here, gold ink is chosen to make the strawberry seeds. Shake the gold ink evenly, then use a needle or other fine-pointed tool to dip a small amount of gold ink and dot it onto the strawberry to represent the seeds. The strawberry is now complete.
 The above image compares the effects of using gold ink (left) and metal beads (right) to create strawberry seeds.


