How to Make Butterfly - Handcraft Ronghua Tutorial
Share
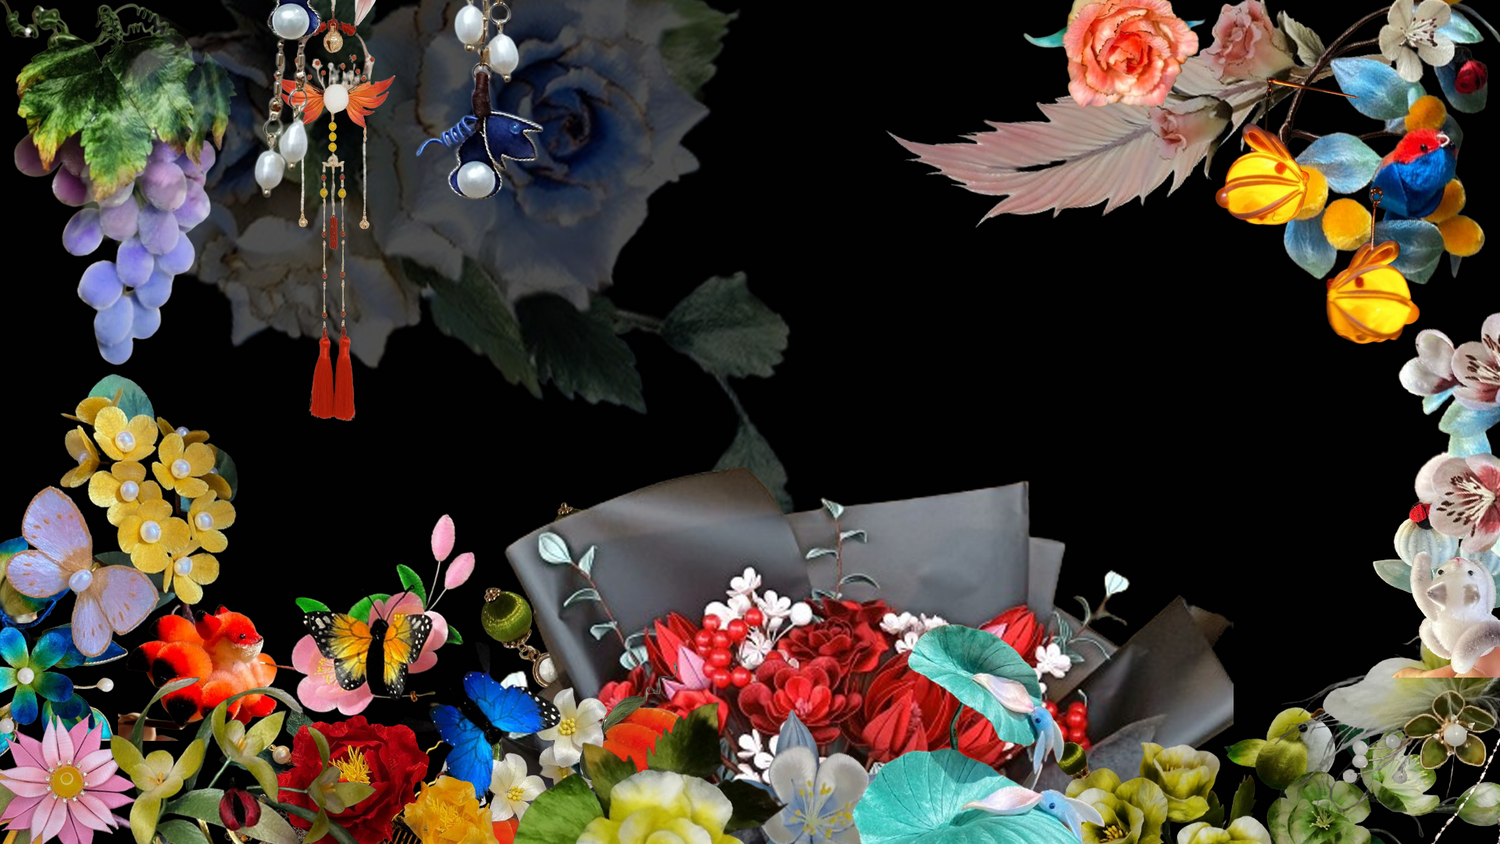
Certain butterflies, with their vibrant colors, are known as "flying flowers" and are widely used as artistic elements. In handcrafted creations, butterfly motifs frequently appear in bracelets, headpieces, necklaces, and more. This case study uses the "butterfly" as a design element for Ronghua jewelry, resulting in a butterfly hairpin.
 Color Scheme Display
A. Preparing Velvet Strips
 1
1
1. Prepare blue series silk threads and start winding the threads. When a color transition is needed during winding, different shades of colors can be interspersed. In this case study, a flat butterfly is being made. You can use the mirror principle during winding, arranging the silk threads symmetrically on the right side of the velvet row.
 2
2
2. Create the velvet strips to make the butterfly wings.
B. Trimming and Shaping
 3
3
3. For this butterfly with large wings and some light-colored accents, trim the ends of the velvet strips sparingly or not at all, depending on the desired color effect.
 4
4
4. Use scissors to cut the velvet strips in half, and then use a clamp (at around 180°C) to flatten the strips. Note that when flattening the strips, you should not press them directly onto the clamp. Instead, pull the brass wire into the clamp from one side, hold it for a few seconds, and then release.
 5
5
5. Use setting liquid to set the shape of the velvet pieces. Pour the setting liquid into a container, soak the velvet pieces thoroughly, then remove and let them dry on a sponge mat. For smaller velvet pieces, you can brush on the setting liquid directly to save time, but make sure to saturate them completely for better results.
 The image above shows a comparison between velvet pieces before (left) and after (right) setting.
 6
6
6. Draw the outline of one side of the butterfly wing on paper, cut it out, place it on the velvet pieces, and cut the wing shape according to the pattern. Repeat the same process for the other side of the wing.
C. Beautification and Fixing
 7
7
7. Use paints to add decorative patterns to the wings based on personal preference.
 8
8
8. Prepare four copper wires, two for the antennae and two for the body. The method for making antennae is the same as for making tendrils. When wrapping the wires, do so evenly to ensure a delicate final product.
 9
9
9. Take the other two copper wires, align them together, and wrap black thread around the middle of the wires. Wrap several layers, then fold the wires in half and continue wrapping to form a cylinder shape with a larger top and a smaller bottom. Make sure to wrap more thread for a more three-dimensional butterfly tail. If wrapped too little, the wire tips may slip after folding.
 10
10
10. Use silk threads to bind the butterfly's body and the two hind wings together, then attach the forewings, ensuring a slight gap between the forewings and hindwings for better stability. After securing all the wings, cross-wrap the threads (as shown in the image above) to firmly attach the body and wings.
 11
11
11. Fix the antennae and trim off the excess brass wire, then adjust the final shape of the butterfly. Note that multiple parts fixed together will result in many brass wires; trim them as needed. Finally, attach it to the main accessory to complete the creation.
 Tips: If you want to attach the butterfly to a hairpin, you can make the body longer and shape it like a spring for easier attachment.


