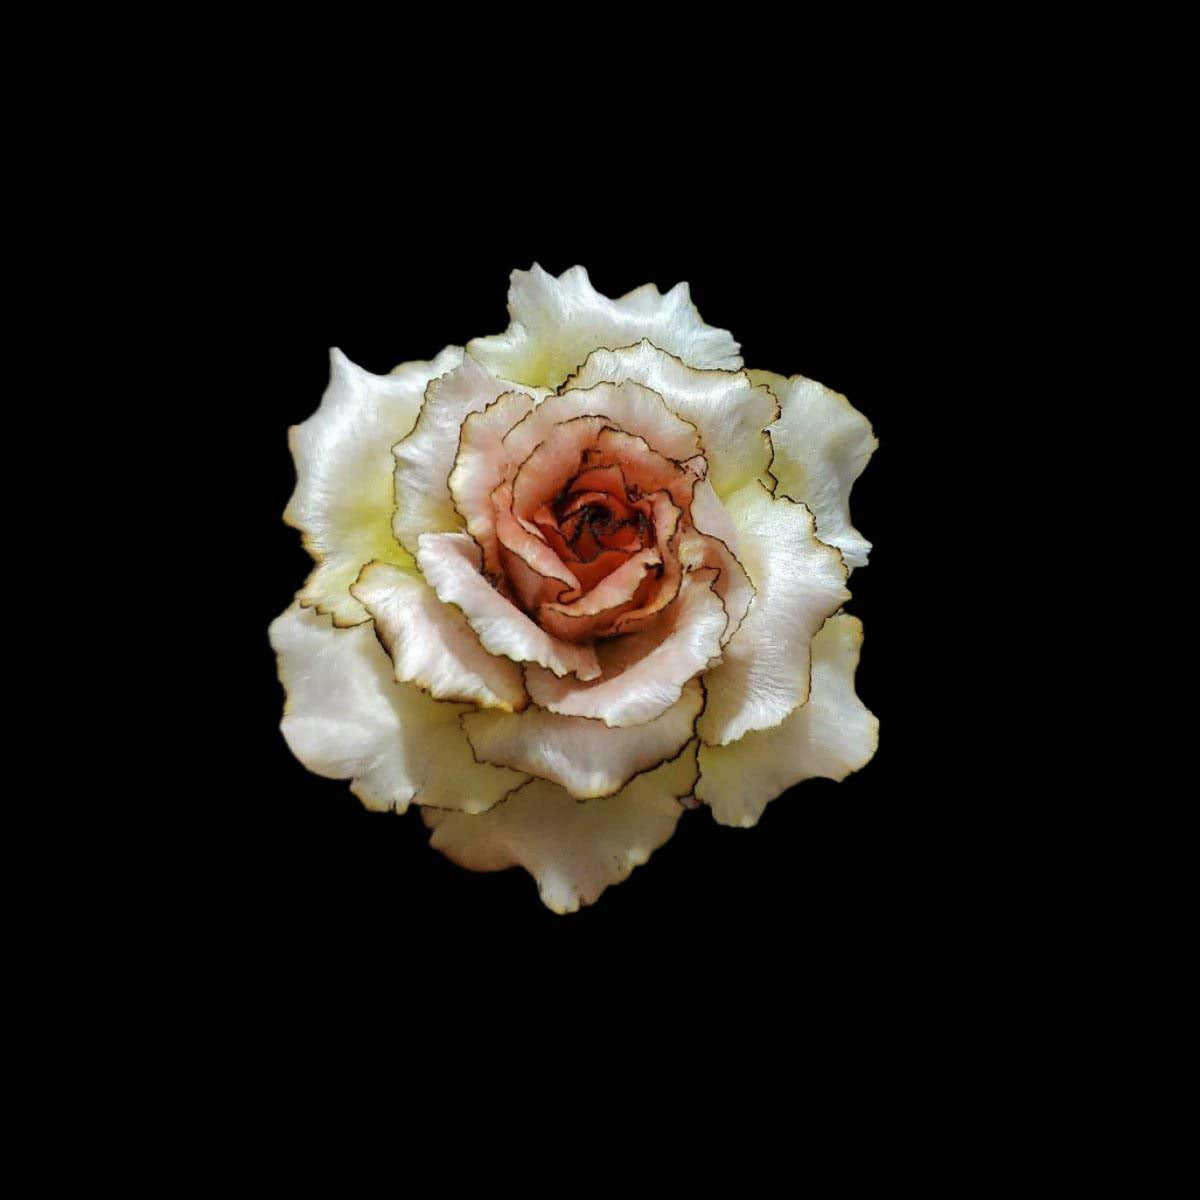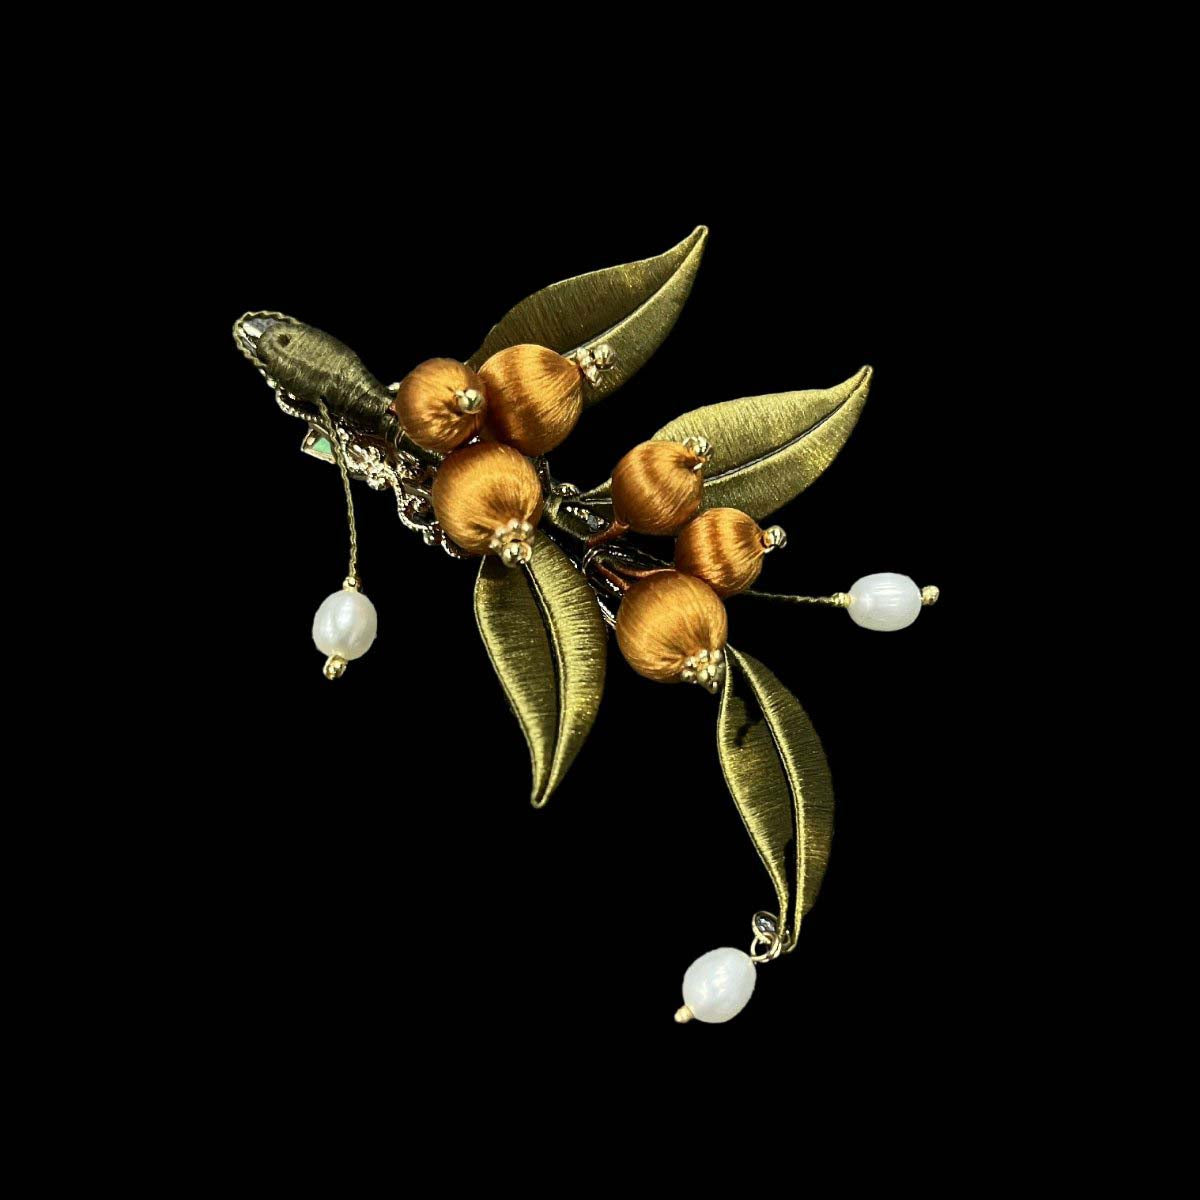
Methods for Making Different Styles of Ronghua - Flat Style - Handcraft Ronghua Tutorial
Share
Flat-style Ronghua petals are further processed from the fluffy-style petals. Here, we will use irregular-shaped petals as an example to explain the method for making flat-style Ronghua.
Irregular-shaped petals typically refer to petals with a large curvature, such as those of peonies, peony poppies, and poppies. Petals with a smaller curvature can be directly shaped using a flower iron.
A. Making Peony Petals
 1
1
1. Initial Shaping: Create a fluffy, teardrop-shaped form with velvet strips and flatten it using a pressing board. Then, trim the petals into the desired shape with scissors to make semi-finished flat petals.
 2
2
2. Cut and Shape: Use scissors to cut irregular notches at the top of the petals, then bend the petals using a pressing board to create velvet pieces, making it easier to press the petals into shape later.
 3
3
3. Soak and Dry: Soak the finished flat petals in a setting liquid, then place them on a sponge pad to dry for a few seconds until the petals become slightly soft, making them easier to shape later.
Tip: To smooth out larger or more noticeable creases in the middle of the petals, spray a layer of hairspray on both sides of the petals, wait a minute or two for it to penetrate, and then use a flower iron to shape the petals. This will make the petals smoother.
 4
4
4. Press Details: Use a fine-pointed tool like an awl to press dents into both sides of the petal base. This method creates a more natural half-circle effect compared to using a flower iron directly.
 5
5
5. Adjust Shape: Use tools to adjust the upper part of the petals into irregular shapes (the curvature can be controlled freely), making the petals look more natural. Then, place the shaped petals on a sponge pad to dry.
 6
6
6. Final Shaping: After the petals are dry, use a flower iron to adjust the shape and uneven areas, making them look more natural.
 7
7
7. Trim Edges: Trim the frayed edges of the petals with scissors to complete the flat peony petals.

The method described above is my own approach to making irregular-shaped petals. There are other methods as well, which you can explore and learn from.
B. Making Small Petals
 Choose different sizes of iron heads based on the size of the petals.
 1
1
1. Heat and Shape: Replace the flower iron with a suitable iron head based on the petal size, heat it to the appropriate temperature (recommended 140°C-180°C), then slowly roll the iron from the edge of the petal inward to create curvature. When the iron head reaches the middle of the petal, press it down directly to shape it.
 2
2
2. Form Tip: Use the flower iron to shape the upper part of the petal, completing the process.
 Tip: For shaping curved petals, which are often long and narrow, use a smaller round iron head. Start by pressing the petal tip with the iron head, then slowly roll downwards to form a semi-arc shape. Then, use the flower iron to iron from the base of the petal towards the middle along the direction of the velvet, creating a slight curvature at the base. Adjust as needed for different petal lengths.
C. Making Flat Leaves
 The method for making flat leaves is similar to that of petals. First, shape the velvet strips, then flatten them with a pressing board. The image above shows different leaf shapes. Different plants have different leaf shapes, so refer to relevant materials before making the leaves to determine their characteristics.
D. Making Lotus Leaves
The method for making lotus leaves involves decomposing and reassembling the shape. The overall shape of a lotus leaf is circular, which is difficult to make directly. To simplify the process, decompose the circle into several equal-sized fan-shaped pieces and use these as the basic components for making lotus leaves. Once the basic components are made, the lotus leaf can be easily assembled.
 1
1
1. Prepare Strips: Prepare flat velvet strips and trim the sides from the base upward into elongated fan shapes as shown in the picture above. Note that the lotus leaf will be assembled from multiple fan-shaped pieces, so calculate the number of pieces needed beforehand.
 2
2
2. Glue and Press: Apply white glue to the contact surfaces of the fan-shaped pieces and assemble them. Use a pressing board to flatten the joints, shortening the glue setting time.
 3 4
3 4
3. Assemble Half Circles: Continue to glue the fan-shaped pieces together to form two half-circles.
4. Form Circle: Join the two half-circles into a complete circle, then use a pressing board to flatten the joints.
 5
5
5. Trim Edges: Trim the frayed edges of the circular piece with scissors to form the basic shape of the lotus leaf. You can also trim the edge into a wavy pattern to make the leaf look more natural.
 6
6
6. Shape Leaf: Use a pressing board to shape the lotus leaf, either curling the edges downward or upward as desired, depending on the design of the piece.


